Título de prueba
By: . 18 May, 2026

In this step-by-step guide, we’ll walk through how to adjust the session timeout period for SAP SuccessFactors, ensuring optimal user experience. With the following instructions, eCortlessly customize your platform’s timeout settings.
Firstly, access to the SAP SuccessFactors HXM Suite Provisioning system is required. Without access, changing the timeout is not possible. Upon logging into Provisioning, you’ll see a list of accessible company instances. Click on the Company Name link to begin configuring the Company Settings.
.jpg)
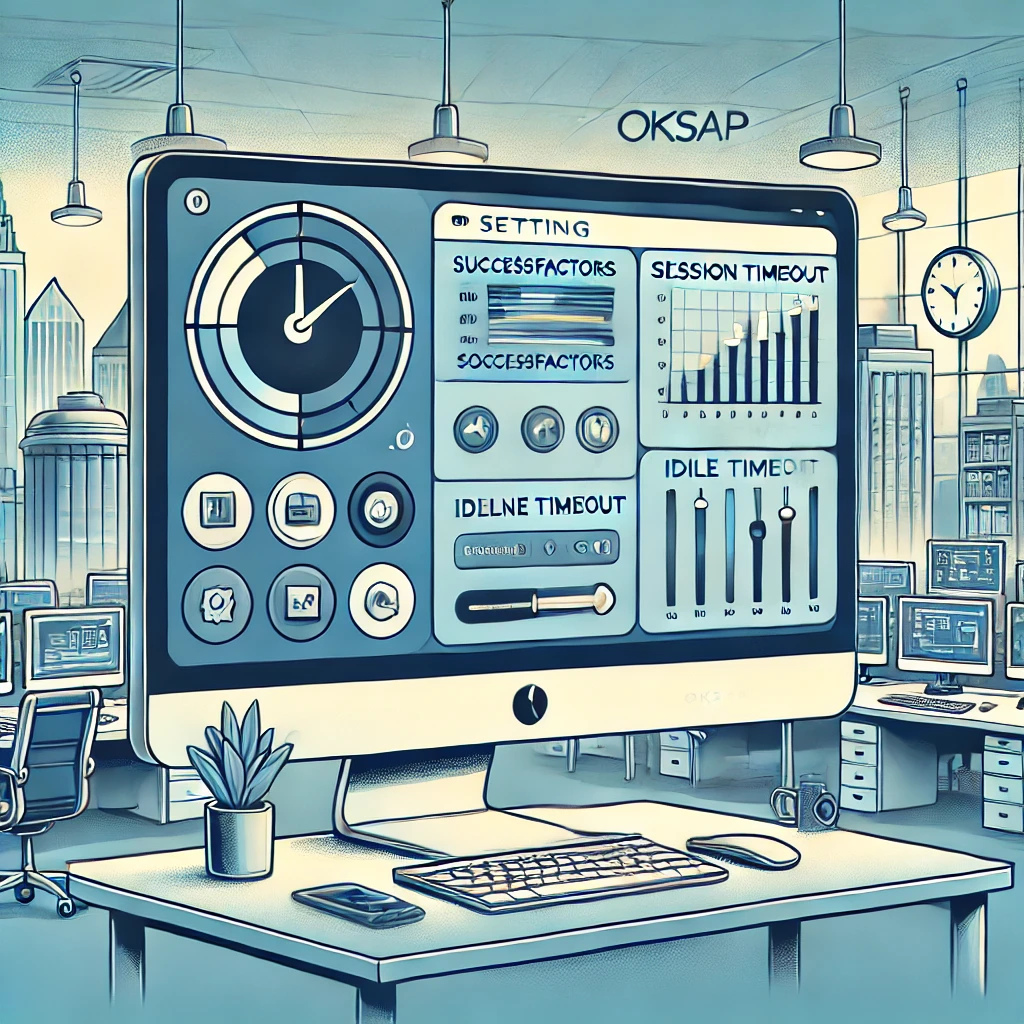
The timeout settings can be found within Company Settings > Session Timeout Settings
.jpg)
To quickly locate this section, you can use Ctrl + F within Company Settings, as shown in the image below:
.jpg)
Here, you’ll find two settings. The first one allows you to configure the maximum idle time before session timeout. It’s initially set to 30 minutes, with a maximum allowable time also set to 30 minutes. To adjust it, simply input the desired number of minutes for this idle period.
.jpg)
The second configuration available allows you to set when the warning message appears before session timeout. It’s configured in the same manner as the previous setting: by inputting the number of minutes before timeout you wish the warning to be displayed.
.jpg)
Once you’ve configured this, to save the changes, click on the save button located to the right of the Session Timeout Settings section.
.jpg)
Finally, to confirm these changes, enter the company ID and click on the confirm button. Now, all the changes have been applied and will be reflected accordingly
.jpg)
For further details on this topic, it is recommended to visit the SAP for Me and refer to note 2088893.